Posts

Showing posts from September, 2014

October Stamp of the Month - Home for the Holidays

Image
Welcome to our Stamp of the Month Blog Hop! This month we are featuring Home For The Holidays , a set of 7 stamps.  This stamps coordinates with images on the Art Philosophy cricut Cartridge.  If you have come here from Dawn Ross's Blog you are on the right path! The blog hop is a great big circle, so you can start here and work your way around. If you get lost along the way, you'll find the complete list of participating consultant's HERE . I was immediately drawn to the bear postage stamp when I first saw this set.  I knew right away what I wanted to do this one stamp but it took me a bit longer to design the card around the stamp!  I like to incorporate each Stamp of the Month with my Technique Tuesday class so I finally decided on a Gate Close Card.  This is an easy fold card to do and for this stamp, it turned out to be quite fun. I stamped the postage image with black ink onto the same shape cut from the Art Philosophy cartridge. ...

Thinking of You with Artfully Sent

Image
Yesterday I managed to get in some crafty FUN time!  I didn't have anything that I HAD to do so I got to create for fun.  Well, actually there were a few things I needed to do but I decided to procrastinate and have fun instead. I checked out the challenge blogs for the last few days and found a sketch over at Retro Sketches I wanted to use.  I decided to incorporate some cuts from my new Artfully Sent Cartridge. I used the Scene function to cut the piece with the cut out flower on the Hollyhock Paper Fundamentals cardstock.  I slipped in a piece of Brushed B&T behind the cut out flower.   I didn't let the cut out flower go to waste.... it kind of blends in with the card but I did attach it beside the cut out flower.  Here is a little close up:                                                 "Thinking of You" and t...

Halloween Swing Card with Artfully Sent

Image
I managed to sneak in some play time last night while watching the season premier of Nashville.  (Yes, I'm a big fan!)  Although I really wanted to create another pop-up card, I thought I'd stick to the same key I used for my Happy Halloween card I shared the other day. This time I used the swing function key to create this Halloween 5x7 Swing card! I cut two base pieces.  One, from Sunset Cardstock and the other from a piece of B&T Scaredy Cat paper pack (X7185B).  I trimmed 1/8" off from all the edges of the B&T piece so that the Sunset cardstock would still show.  I added a piece of black cardstock behind the pumpkin and then I adhered the B&T piece right on top.  Next I cut out the "BOO" using the SHIFT key for the swing card onto a different piece of Scaredy Cat B&T. Who is saying "BOO"?  It's the 'witchy bird' from the Scardy Cat Compliments! I also added Black Shimmer Trim and Black epoxy stars fro...

Happy Halloween Pop Up Card

Image
ooh..... I've been so busy I'm wondering if I will EVER catch up! I had such a busy week last week with my Technique Tuesday class, Wednesday Bible Study, Hostess Club on Thursday and Arts & Craft fair on Saturday!  In the middle of this my Artfully Sent Cartridge arrived!   Can you imagine my anticipation to play and having no time?? Thursday night, I took the cartridge with me to my Hostess Club because I was anxious to show it off even though I only had the books and stamps that came in the collection to show.  But later on while the girls were busy putting their layouts together I popped in the cartridge and started cutting the Happy Halloween pop-up card.   It only took me minutes to cut and put together.   I had Sunset and Black Cardstock with me so the card look kind of plain but it gave the girls an idea of how quick and COOL this cartridge was! Friday I had to go set up for the Arts & Craft fair and when I got home I had a long list of "TO D...

Scraredy Cat Banner

Image
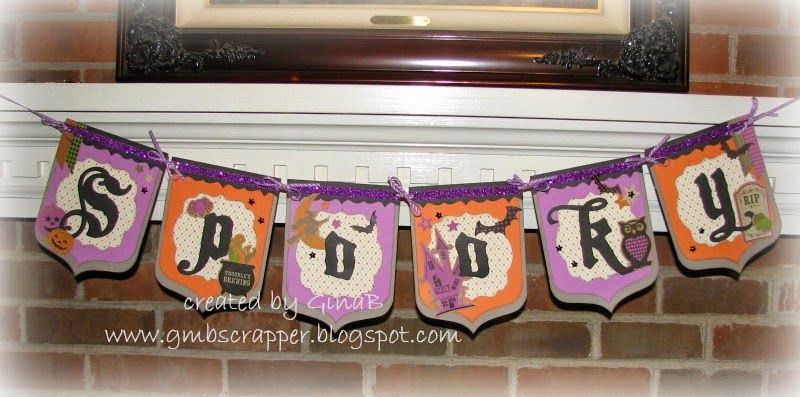
I don't think I ever shared the Scaredy Cat Banner that we will creating next week at my September Girl's Night Out Event.  You might have seen it over on my Upcoming Events tab but I wanted to share it here in case you missed it!  This banner was so much fun to create and easy too because I used the Artiste Cricut Cartridge to cut the banners, borders and even the letters! Once the banners were assembled, I added the Scaredy Cat Compliments, Purple Shimmer Trim and scattered Black Epoxy Stars about.  The Thistle ribbon matches perfectly and makes a great way to hang the banner.    Now I'm all ready to decorate for Halloween! Everything for this project will be pre-cut for my GNO attendees.  All they need are some kindergarten skills - trimming and gluing!  You can't get any easier than that!

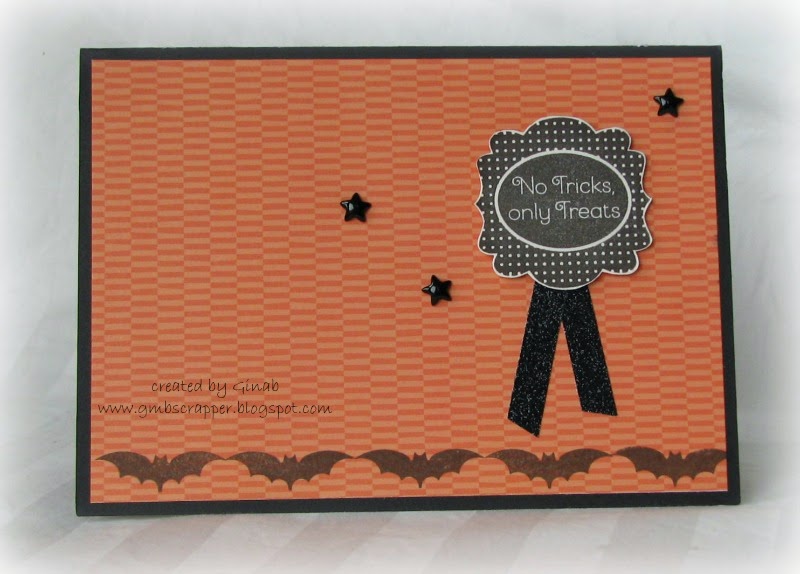
EEEK!!! It's Scaredy Cat!

Image
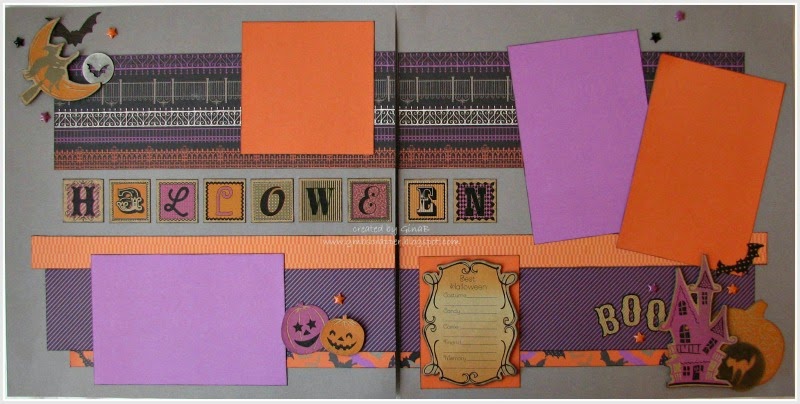
The Halloween themed paper in Close To My Heart's Annual Inspirations is so cute!  This particular paper pack was not accompanied by a Workshop On The Go Scrapbooking kit like most of the other papers in the book.   Since my Hostess Clubs love the WOTG kits so much and most of them love Halloween, I wanted to put together a kit for them that was easy to follow! I came up with these two layouts using the Scaredy Cat Paper Pack, Scaredy Cat Compliments and the Scaredy Cat Assortments .  No stamping on these layouts this time - just lots of spooky fun! Using the 3D Foam Tape with the stickease adds a fun dimension to layouts. The Sunset and Thistle cardstock are photo mats. The standard sizes will make it easy to pop in those Trick or Treat pictures! The large photo spot on the right page can be substituted for 2 Vertical 4 x 6 photo. You also have 2 smaller photo options on the two smaller Thistle photo mats. Because I created these layouts for my clubs, I n...

Make It Merry

Image
When I saw the Merry Monday Challenge - "Use some type of vehicle or transportation on a Christmas Card", I couldn't wait to use my new Make It Merry stamp set!  This stamp has the cutest little motor scooter on it!  I used the turned the sketch from Mojo Monday  sideways to create my card. I stamped the scooter with Black ink and then again in Cranberry.  I cut out the cranberry pieces and applied them to my scooter.   I still felt like the scooter was plain so I colored it in using the ShinHan Touch Twin Turquoise Blue Marker  using the Colorless Blending Pen to lighten it up a bit.  Now my scooter was ready to haul some Christmas goodies!  I used Glacier ink to stamp the tree and colored the ribbon blending the ShinHan Touch Twin markers of Carmine and Clay to give more of a cranberry color to the ribbon.    Mojo Monday Sketch:

Chalk It Up on Display!

Image
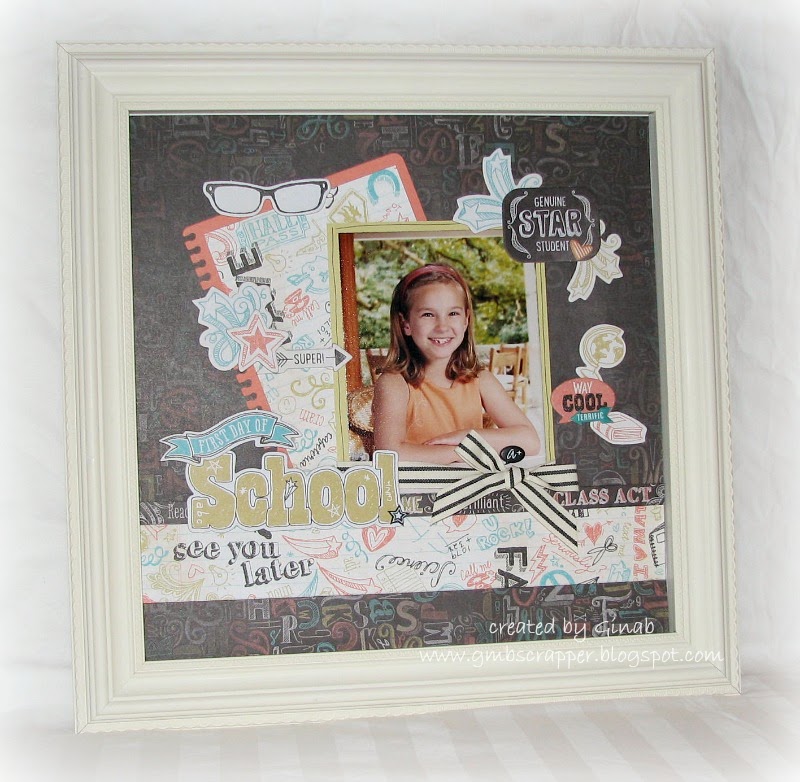
What a CRAZY past several weeks it has been!  Last Saturday I held my Annual Inspirations Open House to showcase the new products in Close To My Heart's Annual Inspirations Idea Book!  I spents weeks prepping projects and getting many of my upcoming events ready for display and sign ups!  If you missed coming out to my Open House, I'll be sharing a few of the items I had displayed over the next couple of weeks.   Today I'm sharing the new Chalk It Up Paper paired with our new Designed Decor Colonial White Shadow Box (Z2016) .   I really love these new frames!  Use these frames to display your favorite pages! This wooden frame has a hinged back that opens for easy loading with a magnetic closure.  This frame is also available in black (Z2015)!   I just love this picture of Kayli.  It was her 1st grade school picture! Her excitement for school really shows.   She is nearly 20 years old now! - my how time does fly! This...

National Stamping Month - #30yearsofhappy Blog Hop

Image
September is National Stamping Month, and Close To My Heart is ready to celebrate all month long! When you spend $30 on any current retail-priced stamps during the month of September, you qualify to receive the exclusive C-sized stamp set #30yearsofhappy for FREE! This special offer is part of our celebration of National Stamping Month and in honor of our ongoing celebration of our founder and CEO Jeanette Lynton’s 30-year anniversary in the scrapbooking and stamping industry. The exclusive stamp set features 30 mini images and sentiments perfectly suited for 30 days of happy stamping! To celebrate, we have a fun Blog Hop to help give you some creative ideas for the many uses of this adorable set!  If you came from Nikka Geers' blog you are on the right track!  When you get to the bottom of my post, just click on the link to the next blog.   The hop is a big circle so when you get back to me, you will know that you visited them all!   If you get lost alon...