Posts

Showing posts from February, 2017

StampinHeaven Winter Retreat 2017

Image
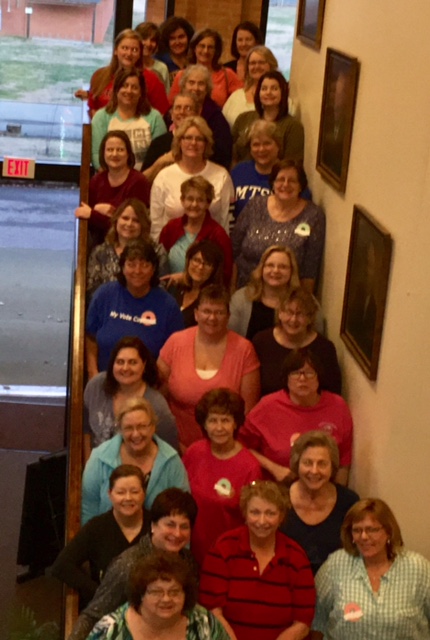
Well I know it is called WINTER retreat but it was anything but Winter this past weekend!   I'm still recovering from all the fun we had at my retreat.  It's a good thing I'm going on vacation!  I'll be able to relax and rest up.... I think. This was my 4th retreat at Henry Horton State park.  We had a packed attendance of 32 ladies that happily scrapped late into the night and back at it in the early morning hours.  One lady even stayed up ALL NIGHT - never went to bed!  What can I say - when you get a 2nd wind and get on a roll it's hard to stop! I'm missing a couple of ladies from this group shot! Here is a recap of our weekend!  Each attendee had goodies waiting for them at their table: The theme was based off of our Sugar Rush paper pack so everyone received a "Donut" name tag, a Water bottle with Pocket tag containing a Lemonade packet, a special Petite Perk stamp, a package of donuts (of course), a pre-cut Retreat Layout (more on

Come and Join Close To My Heart in February!

Image
I love what I do with my Close To My Heart business and  I would LOVE to share that joy with you! If you have been considering joining Close To My Heart  there is no better time than TODAY! Go to my website and join today! www.stampinheaven.ctmh.com Want more information? Join my Close To My Heart Opportunity Group HERE

Fundamentals Creative Collections Blog Hop

Image
Welcome to our Fundamentals Creative Collections Blog Hop! We are showcasing the many creative ways you can use our Fundamental line! If you have come here from Kathy Burrow's Blog , you are on the right path! The blog hop is a great big circle, so you can start here and work your way around. If you get lost along the way, you'll find the complete list of participating consultant's HERE . In January, I attended Close To My Heart's Teambuilders conference in Salt Lake City Utah.  This was the 2nd time I had the opportunity to go and it so worth it! One of the highlights is getting to see many of consultant friends and leaders at Close To My Heart.  As party of our creative time, we were given the materials to complete 5 layouts.  I will use these layouts to document my weekend of training and fun!  The layouts were a mix of the different Fundamental paper packs.  I'm sharing one of the layouts here. In this layout above, there are 3 different Fundament

Hello Lovely - Engagement Layout

Image
Oh wow.... now that I have a wedding coming up soon - less than 3 months, time is FLYING by.  I've really been neglecting my blog!!  I knew that would happen once the new year arrived.  A year ago, my daughter's wedding was in the distant future.  Now it is looming before us and I feel like there is still much to do!  She keeps telling me everything is under control.  I guess if she is not freaking out with panic - I shouldn't either. I recently scrapbooked some of Kayli's engagement photos with our new Hello Lovely paper.   It's amazing how they took these pictures back in August of last year and the most PERFECT paper came out in January to use!  I was excited! I still have several I need to scrapbook but I did get 3 layouts done with the help of the Hello Lovely Workshop your way kit!  I changed up the first layout from the instruction guide to substitute Fern Cardstock for the B&T paper they used as the base page. I wanted to use this same paper for my

February Stamp of the Month - Easter Bunny

Image
Welcome to the February Stamp of the Month Blog Hop! This month we are featuring Easter Bunny . This set has 12 stamps. If you have come here from Tamytha Jenkin's Blog , you are on the right path! The blog hop is a great big circle, so you can start here and work your way around. If you get lost along the way, you'll find the complete list of participating consultant's HERE . I had fun with this month's Stamp Of the Month and our new Circle Thin Cuts!  I used the large circle thin cut in the middle of my White Daisy Cardstock.  After cutting the middle circle, I then used the other circles to randomly emboss the card front.   To do this, you need to have a rubber embossing mat if you have the Cuttlebug.  I placed the mat onto my A plate.  I placed my card front on the mat and then I placed then thin cuts with the cutting side UP on my cardstock.   Next I placed a B plate on top - remember the cutting edge should go into the B Plate.   I had to use a